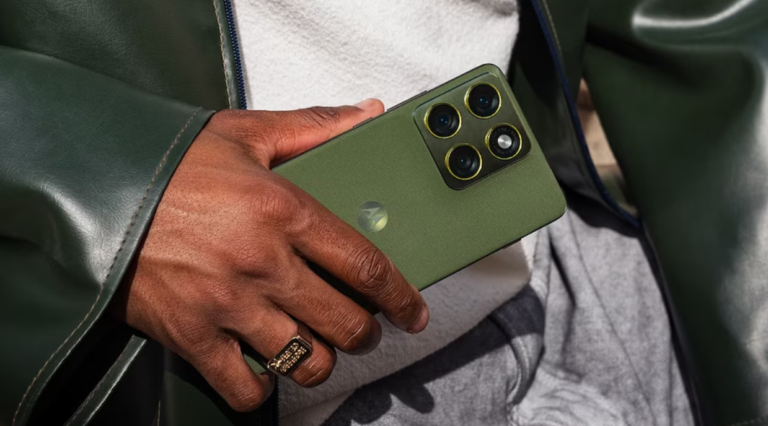
Last summer, I went to a friend’s birthday dinner at a rooftop cafe, summer with the whole city glowing below us. I held my phone up and took nearly fifty pictures of the view, the table and the fairy lights. Every shot looked the same: a dark frame, a few smudged lights and one bright blob where a lamp should have been. I didn’t keep a single one. A friend sitting across from me, using an ordinary phone, showed me her shot a few minutes later. It was sharp, warm and exactly what I had been trying to capture.
I used to think night photos failed because my phone wasn’t expensive enough. Every beautiful night picture online seemed to come from a proper camera, so I assumed my results were simply the limit of my device. In reality, most of my problems were small and fixable, like shaky hands, a smudged lens and rushing the shot. If you’ve ever looked at a night photo and wondered where the magic went, you know exactly what I mean.
So I started learning how my phone behaves in the dark. I practised steadying my hands, using night mode properly and finding better light. My night photos improved within a week. This guide shares what worked for me, and none of it needs a costly phone, an app subscription or any technical background.
Why Night Photos Are Harde

Cameras need light to create a clear picture summer , and at night there summer is very little of it. Stunning To make up for this, your phone keeps its shutter open longer or boosts summer brightness digitally. A longer shutter means any small movement turns into blur, and extra brightness adds grain and washed-out colours. Bright lights next to dark areas also confuse the exposure, which is why street lamps often look like glowing white blobs. Once you understand these limits, you can work with them instead of fighting them.
- Low light makes the camera slow, so small shakes cause blur
- Digital brightening adds grain and weakens colours
- Very bright lights beside dark areas confuse the exposure
- Moving people and vehicles leave streaks or blur
- A little preparation solves most of these problems
Prepare Your Phone Before You Shoot
Good night photos begin before you press the shutter. summer A few quick checks make a surprising difference.


Clean the Lens and Check Settings
A smudged lens is the most common summer cause of hazy night photos, because fingerprints turn every light into a foggy glow. Wipe the lens with a soft, clean cloth before each summer session. Stunning Then open your camera settings and turn on the grid, which helps you keep horizons straight. Make sure your phone has enough battery and storage, since cold air and long shooting drain both.
- Wipe the lens with a soft microfibre or clean cotton cloth
- Turn on the grid in your camera settings
- Free up storage before you start
- Carry a power bank in cold weather
- Remove any case or finger blocking the camera
Learn Your Night Mode
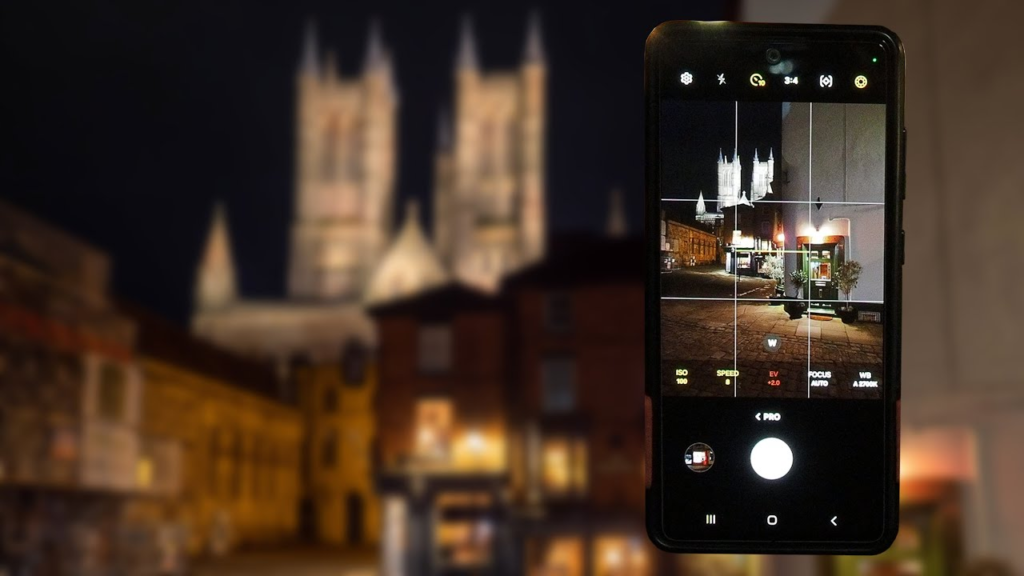
Most modern phones have a night summer mode that combines several frames into one brighter, cleaner image. It usually turns on automatically in low light, and you may see summer a small timer. Stay very still until the timer finishes, since moving early ruins the shot. Try it at home in a dim room first, so you know how long it takes and how it handles lights.
- Look for the night mode icon or timer
- Hold steady until the Stunning shot completes
- Test it in a dim room before going out
- Avoid using digital zoom in night mode
- Switch off the built-in flash for faraway scenes
Keep Your Hands and Phone Steady
Shake is the biggest enemy of night photography. Fixing it costs almost nothing and improves your pictures more than any setting.
Use Support Whenever You Can
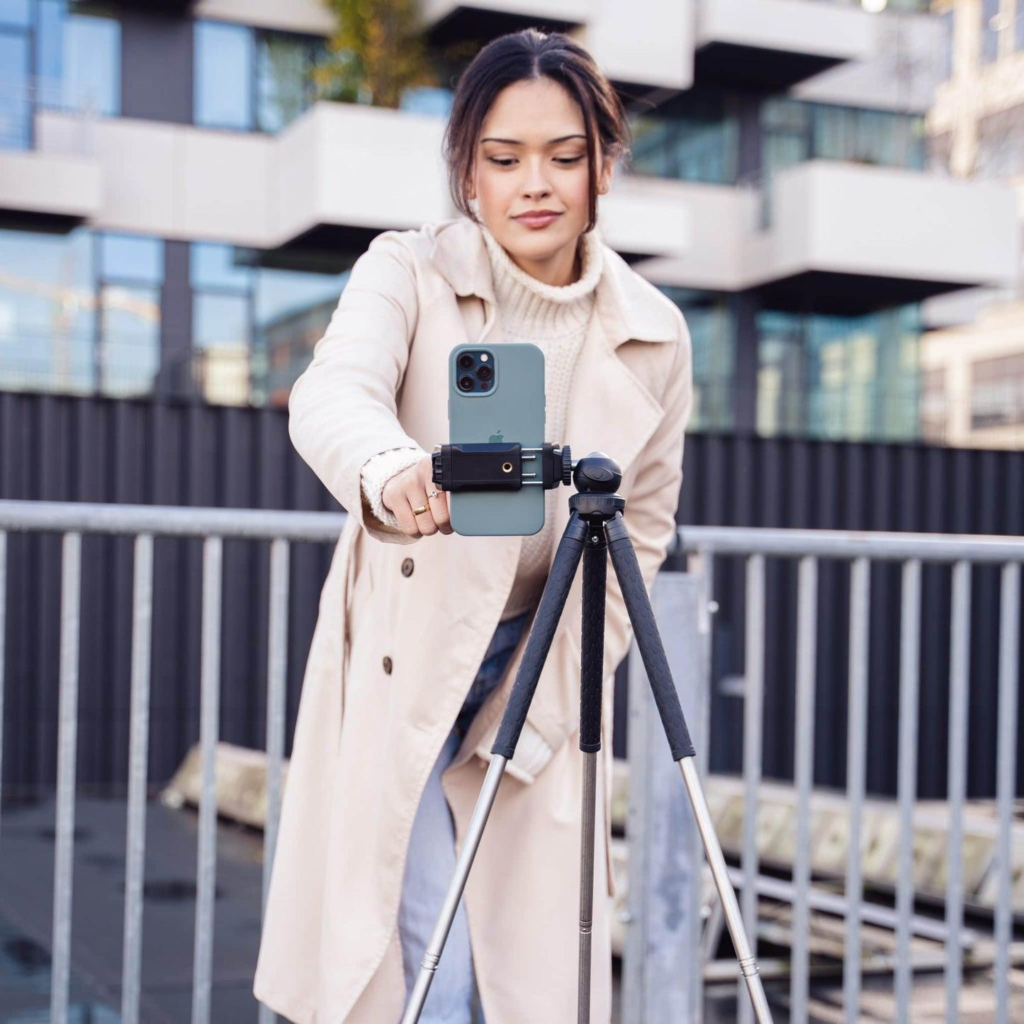
Hold the phone with both hands and tuck your summer elbows against your body. Even better, rest it on a wall, a railing, a car roof or a table. A small tripod makes a huge difference, and many are light enough to fit in a pocket. If you don’t have one, a stack of books or a bag works in an emergency.
- Hold the phone with both hands and keep elbows close
- Rest your phone on a solid surface when possible
- Use a small tripod for long exposures
- Lean against a wall or tree to stay steady
- Breathe out slowly before pressing the shutter
Avoid Touching the Screen
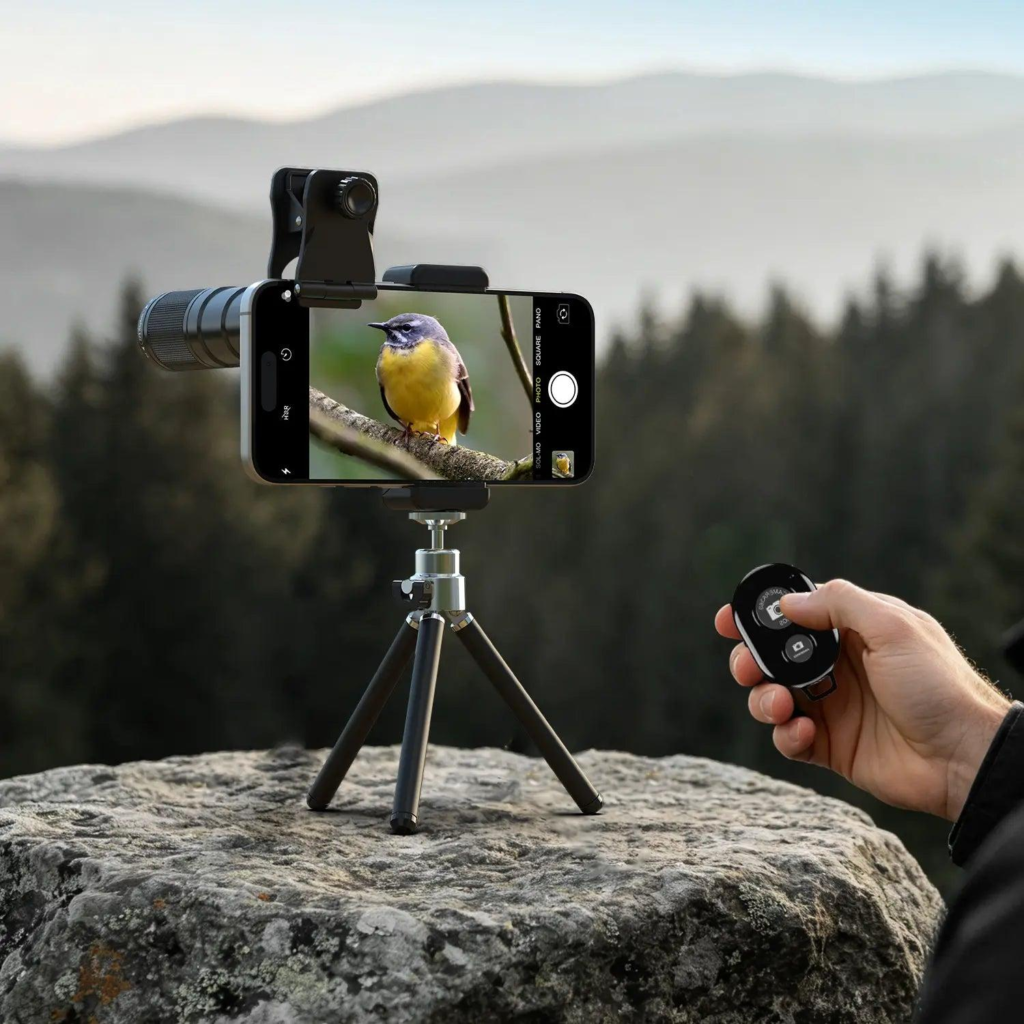
Tapping the shutter button can shake summer Smartphone the phone slightly, especially in long exposures. Use the volume button or the self-timer instead, so the phone stays still. A two-second timer is enough in most cases.
- Use the volume button as a shutter
- Set a two-second timer for tripod shots
- Use a wired or wireless remote if you have one
- Wait a moment after pressing before moving
- Review the shot only after it finishes
Find and Use Good Light
Light is still the key at night. You only need to know where to look.
Look for Interesting Light Sources
Streetlights, shop windows, fairy lights, car summer headlights and moonlight all create beautiful opportunities. Warm lights give a cosy look, while cool lights give a modern feel. Stand where the light falls on your subject from the side or front, instead of directly behind it.
A softly lit face looks far better than a dark silhouette, unless a silhouette is what you want.
- Use shop windows, lanterns and fairy lights as natural light
- Place your subject near a soft light source
- Avoid standing with a bright light directly behind your subject
- Look for reflections on wet roads and glass
- Try the blue hour, just after sunset, for deep blue
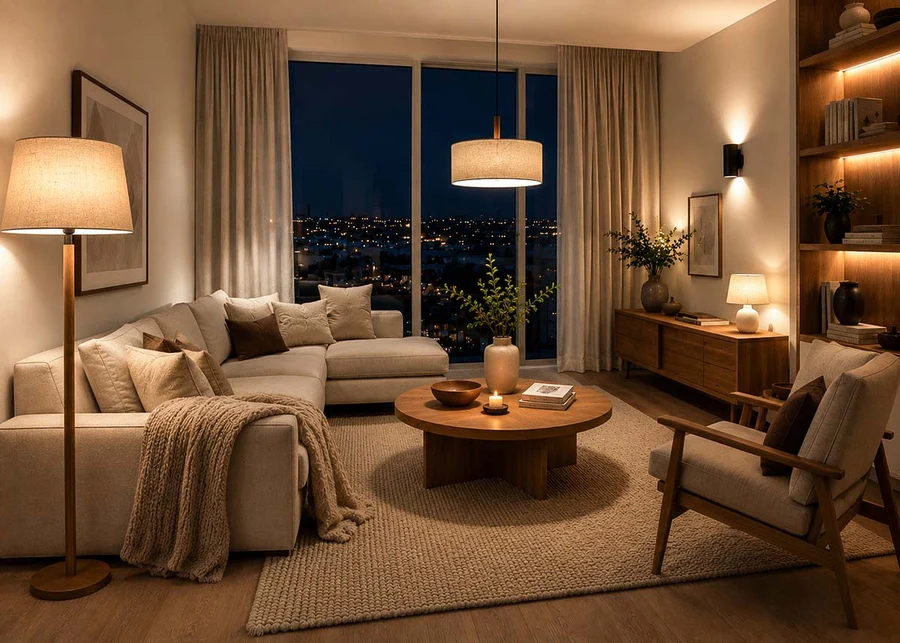
Control Brightness and Focus
Tap on your subject to set focus, then slide summer the brightness bar slightly down. This keeps bright lights from turning into white blobs and helps colours stay rich. If your phone allows, lock the focus and exposure so they don’t change while you wait. Take a test shot, check it and adjust.
- Tap to focus on the main subject
- Slide brightness down a little to protect highlights
- Lock focus and exposure if available
- Take a test shot before the main moment
- Adjust, then shoot again
Compose Better Night Photos
A steady, well-exposed photo still needs a good frame. A few simple composition ideas make a big difference.
Frame With Purpose
Look at the whole screen before you shoot, not just the main subject summer . Check for wires, poles or people walking into the edges. Place your subject slightly off-centre using the grid, and keep the horizon straight. Try shooting from a lower or higher angle than eye level, since the same scene can look completely different.
- Check the edges for distractions
- Use the grid and place subjects off-centre
- Keep the horizon and buildings straight
- Try a low or high angle
- Include a foreground like a railing or branch for depth
Tell a Story With Details

Look for lit stalls, windows and decorations
Include people for summer scale and emotion
Ask before photographing strangers closely
Capture reflections in puddles and glass
Take one wide shot and a few close details
Night scenes are full of small stories: a tea stall summer glowing in a lane, a street vendor’s lamp, a lit window high on a building. Look for details instead of only wide views. People add life to a scene, so include them if you can, keeping a respectful distance and asking permission for close portraits.
Photograph Different Night Subjects
Different scenes need slightly different summer approaches. Here is a quick guide you can come back to.
| Subject | Best Approach | Helpful Setting | Common Mistake | Easy Tip |
|---|---|---|---|---|
| City streets and traffic | Use a steady surface and night mode | Slightly lower brightness | Shaky hands and blown-out lights | Rest the phone on a railing |
| Portraits at night | Place the person near soft light | Tap on the face to focus | Flash that flattens the face | Ask them to stay still for a second |
| Fairy lights and decorations | Capture the glow with a wide frame | Night mode with brightness lowered | Zooming too much | Step closer instead of zooming |
| Moon and sky | Use a tripod and avoid digital zoom | Lower brightness, manual focus if available | Moon appearing as a white blob | Reduce brightness before shooting |
| Light trails and movement | Use a tripod and long exposure mode | Long exposure or live photo if offered | Moving the phone during the shot | Use the timer to avoid touching it |
Edit Gently
Night photos usually benefit from light editing. summer Raise the shadows a little if faces look too dark, and lower the highlights if lights look too harsh. Add a touch of warmth for a cosy mood, or keep it cooler for a modern look. Reduce noise lightly, since too much smoothing makes the picture look plastic summer . Crop out distractions and straighten the horizon. Stop when it still looks like the night you remember.
- Lift shadows slightly
- Lower highlights if lights glare
- Adjust warmth to match the mood
- Reduce noise only a little
- Crop and straighten last
Little Touches That Make Photos Stand Out

A few small habits lift an ordinary night picture summer . They cost nothing and need very little time.
- Take several shots of the same scene
- Wait a moment for people or vehicles to pass
- Try a silhouette against a bright background
- Include reflections for extra depth
- Shoot the same place at dusk and later at night
Stay Safe and Be Considerate
A great photo is never worth a risk. Be careful near roads, edges and crowds, and stay aware of your surroundings. Keep your phone secured with a wrist strap summer or a zipped pocket summer , since night crowds can attract thieves. Avoid walking into traffic for a better angle, and don’t climb unsafe ledges. Respect other people’s privacy and space, and don’t use bright lights or flash that disturbs them.
- Watch your surroundings while shooting
- Keep valuables secure
- Avoid unsafe angles near roads and ledges
- Don’t block pathways with a tripod
- Ask before photographing people up close
Keep Practising and Enjoy It
Night photography improves quickly with summer practice, and you don’t need a special event to start. Try your street, a balcony, a candle on the table or the moon from a window. Notice how your phone behaves and which spots give better light. Some photos will fail, and that is completely normal. The best night photo isn’t the sharpest or the brightest one. It’s the one that brings back the feeling of that evening every time you look at it.
FAQs
1. Why are my night photos blurry?
Low light slows the shutter, so small hand movements cause blur. Hold with both hands or rest the phone on a surface.
2. Should I use night mode?
Yes. Stay very still until the shot finishes, and avoid digital zoom.
3. Do I need a tripod?
Not required, but a small tripod makes long exposures much sharper.
4. How do I stop lights from looking like white blobs?
Tap on your subject to focus, then slide the brightness down a little.
5. Should I use flash at night?
Skip it for faraway scenes and faces, since it flattens the picture and spoils the mood.
The TrendyScope team
Written and checked by the people who run TrendyScope.